Windows Sandbox
I recently came across a valuable discovery that doesn’t appear to have been widely publicised!

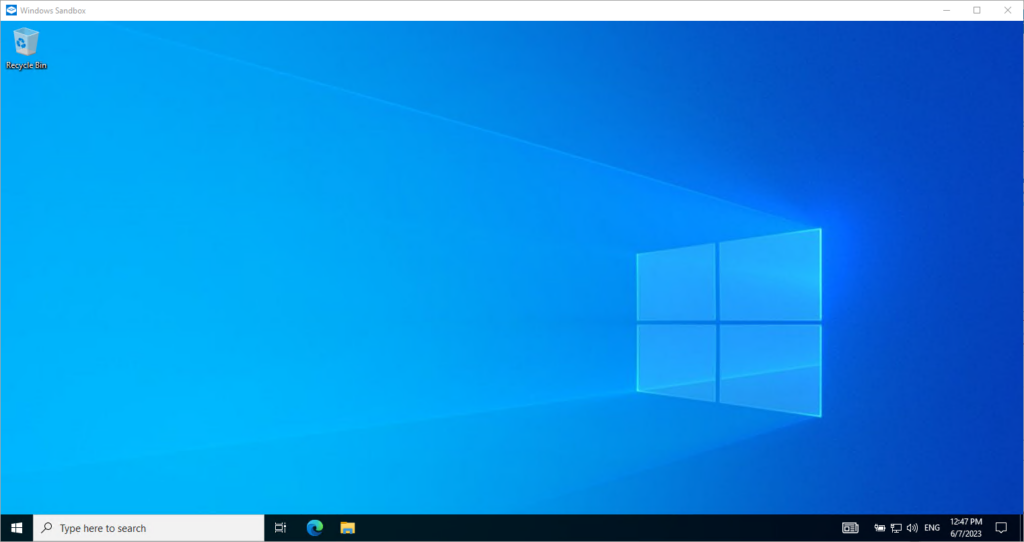
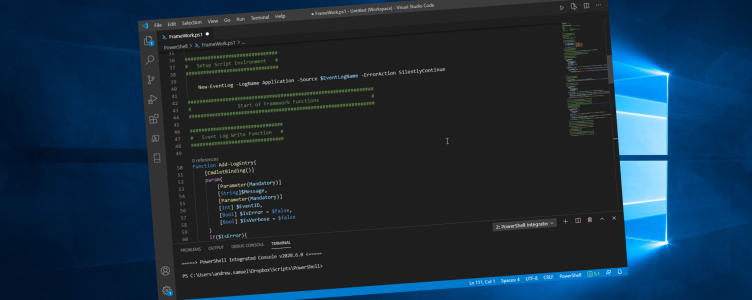
Windows Sandbox is an incredibly useful feature that provides a secure and isolated desktop environment for running applications safely. By utilizing Windows Sandbox, any software you install operates within its own distinct space, completely separate from your main host machine. What’s more, this feature is already available within Windows; you just need to activate it!
When you close the Windows Sandbox, all software, files, and their respective states are automatically deleted. This design ensures that every time you open the sandbox, you start with a clean slate. However, with the release of Windows 11, version 22H2, a notable enhancement has been introduced. Data will now persist through a restart initiated from within the virtualized environment. This enhancement proves particularly advantageous when installing applications that require the operating system to reboot.
It is important to emphasize that the software and applications installed on your PC are not automatically accessible within the Windows Sandbox. If you need specific applications to be available within the sandbox environment, you must explicitly install them within the sandbox itself. This ensures that the isolated environment remains secure and self-contained, preventing any interference with your primary system.
The process of installing Windows Sandbox is relatively straightforward and can be accomplished through a couple of different methods.
- Using the Windows Features Toolbox:
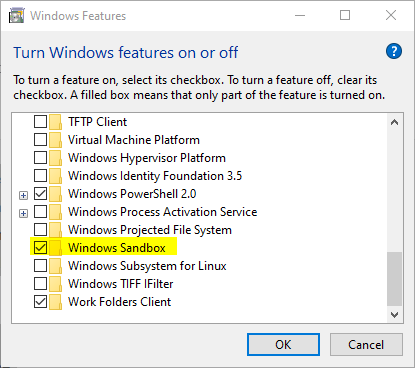
- To begin, open the Windows Features toolbox on your Windows operating system.
- Enable “Windows Sandbox” within the list of available features.
- Click OK
- Follow any on-screen prompts or instructions that may appear during the installation process.
- After the installation is complete, you will have successfully installed Windows Sandbox on your Windows system.
- Once you have selected it, the necessary files and components for Windows Sandbox will be downloaded and installed on your system.
- Using PowerShell:
- Alternatively, you can utilize PowerShell to install Windows Sandbox.
- Open PowerShell with administrative privileges.
- In the PowerShell window, run the following command:

Enable-WindowsOptionalFeature -FeatureName "Containers-DisposableClientVM" -All -Online
It is worth noting that both methods require administrative privileges to install Windows Sandbox successfully. Additionally, ensure that your system meets the necessary requirements for running Windows Sandbox, such as having a compatible version of Windows 10 and sufficient hardware resources.
After completing the installation, simply navigate to the start menu and locate Windows Sandbox. With just a few clicks, you’ll have access to a pristine instance of Windows, ready for testing, without any of the usual complications or inconveniences.


